Remove and Reapply
If there was an error in the application, the spray foam must be removed and reapplied.
Two-pound closed cell foam is not easy to remove. It's a very rigid product; meant to be permanently adhered to whatever surface it’s sprayed onto.
An example of how difficult it is to remove spray foam took place a few years ago when Beyond Group received a call from a homeowner who had another company that was mid-way through installing spray foam, and his Spidey senses were going off.
The Beyond team member who took the call recognized there was a problem right away and drove out to the home and pretty much kicked the other spray foam company off site.
A job that should have taken two days was going on a week, and they had done everything wrong.
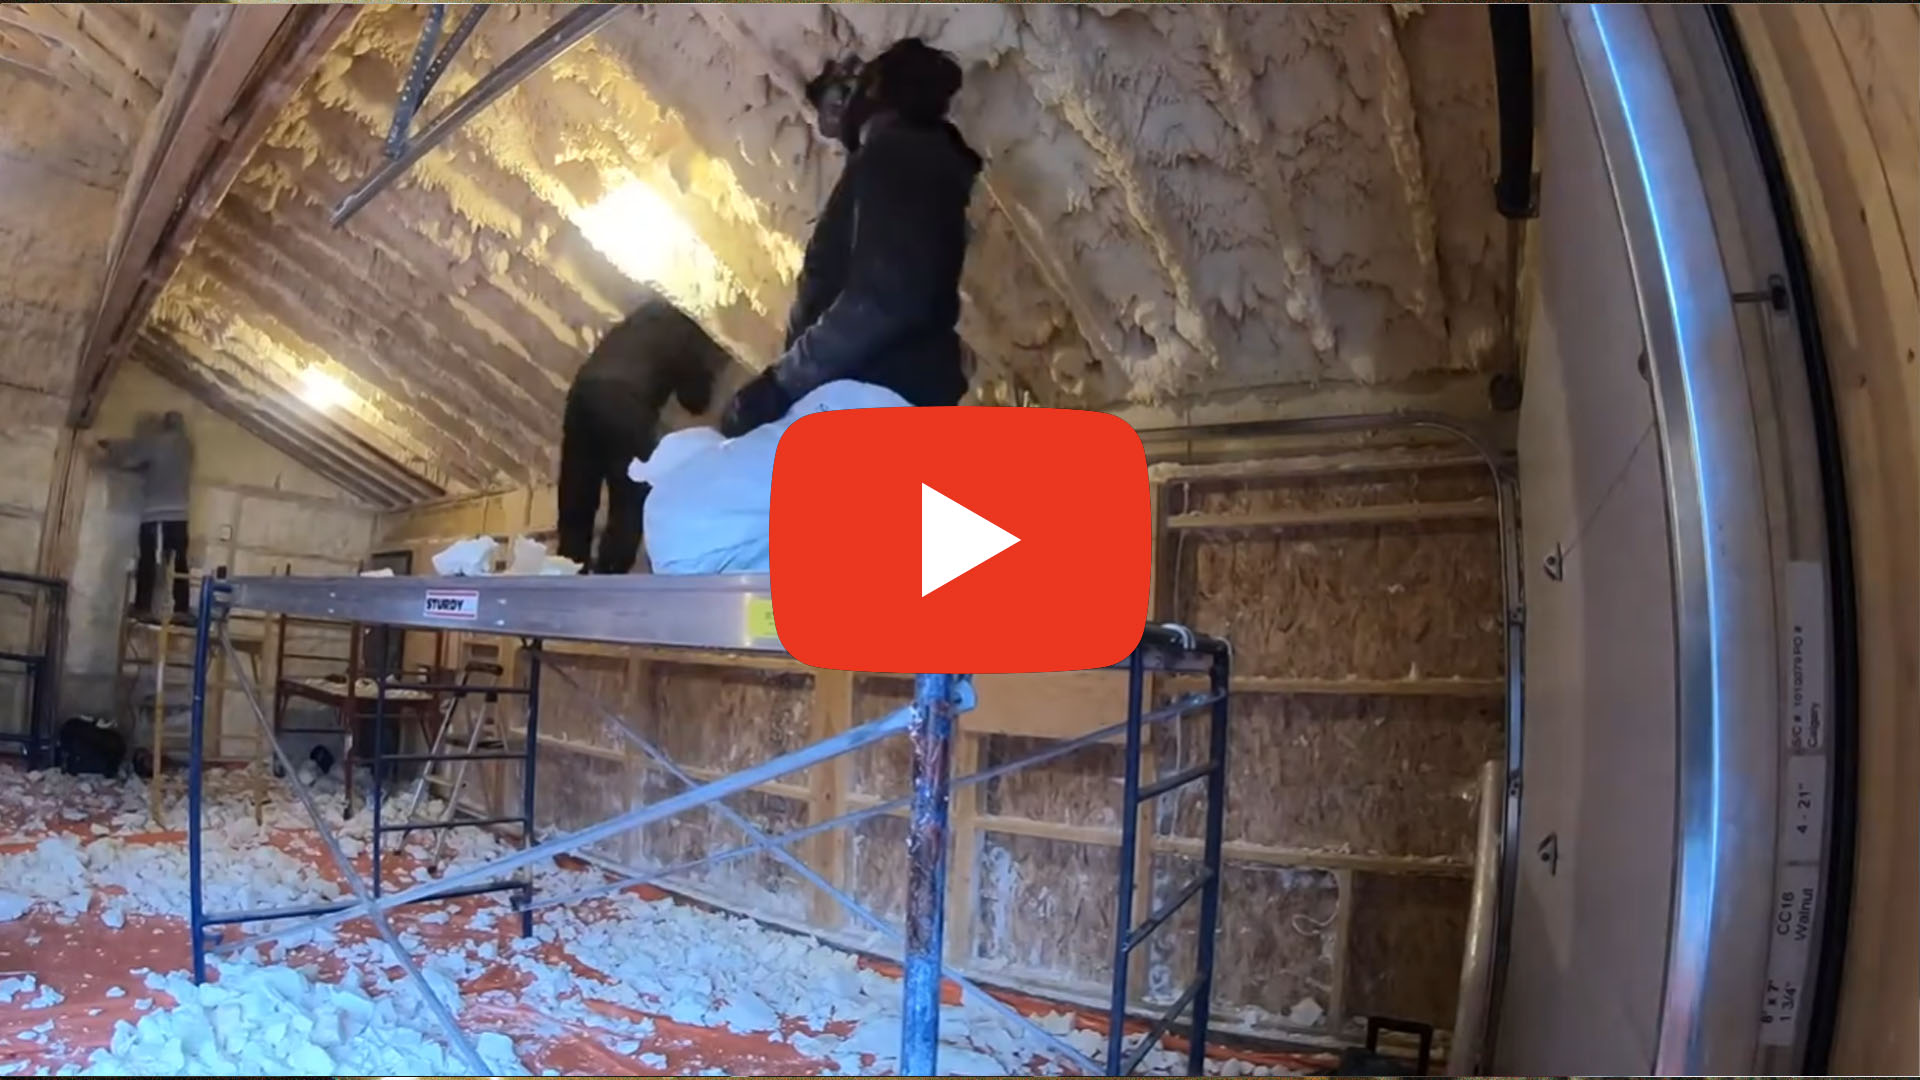
So, Beyond Group teamed up with a chemical manufacturer and a couple of other companies to dig out and manually remove the foam by hand with hand tools to prevent further damage. Once the foam was removed, the concrete also had to be cleaned up using sand blasting, and then two volunteers stepped up to re-install the spray foam with the proper thermal barrier over top of it.
It took approximately 300 man hours to undo the mess, and only 20 hours for the volunteers to install the foam properly from the start.
Shout out to these companies that volunteered time and materials to help the homeowners recover from this disaster: High Performance, Wescan, Northern Foam Works, Double R Value Insulation, and Elastochem for donating the spray foam product!
There are times when something needs to be repaired or is damaged during the installation, and the foam needs to be removed to fix the flub.
An example of this might be plumbing in an overhang that is freezing up after spray foam is applied. In this case, the foam is dug out very carefully without damaging the utilities,
There is no special tool for removing spray foam. Crews will use anything from knives, saws, hammers and crowbars, forks (just kidding about the last one!) - whatever the situation calls for - to pry it out.
Moisture and Damp Surfaces
Assessing the area for debris or moisture before installing the spray foam goes a long way to avoid the headache of removing the rigid product.
Should spray foam be applied to a damp surface, the foam won’t adhere well, and the area would be susceptible to mold or rot.
Spraying against a damp surface can cause issues with foam application because one of the chemicals in the spray foam reacts with moisture. This can throw off the ratio needed for perfect adherence.
An area with a lot of moisture will typically be fairly obvious, and most contractors will recognize that before spraying. However, if it’s missed at the start, the foam reaction will likely appear in which case the installer will stop and assess what’s going on.
In a situation where say the underside of a roof is wet and spray foam is applied, then the moisture is getting trapped between the two layers which is where mold and rot can develop.
Luckily, we have tools to measure the moisture levels and get environmental data before we pull the trigger.
The tool is called a moisture probe and is sued for checking substrate moisture. A Hygrometer is used to check relative humidity (water in the air) in the area.
The moisture content of the surface must be 18% moisture content or lower.
Sometimes there is invisible frost that our moisture meters cannot pickup. In that case the foam would fall off the surface or crack, which then means removal of the foam, ensuring a dry area and reapply.